Generate a 3D model from a photo, sketch, or concept image. Choose Studio, the visual Canvas, an MCP-connected agent, or the CLI.
0 happy users
Rated Excellent 4.7/5
0 models generated today
AI Image to 3D
~3 min35 credits
Trail SignalEXAMPLE MODEL
Example preview · Drag to rotate · Use + / − to zoom
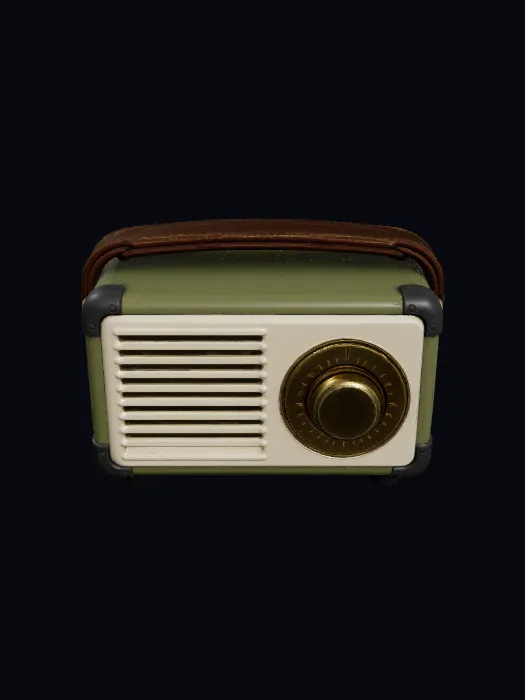
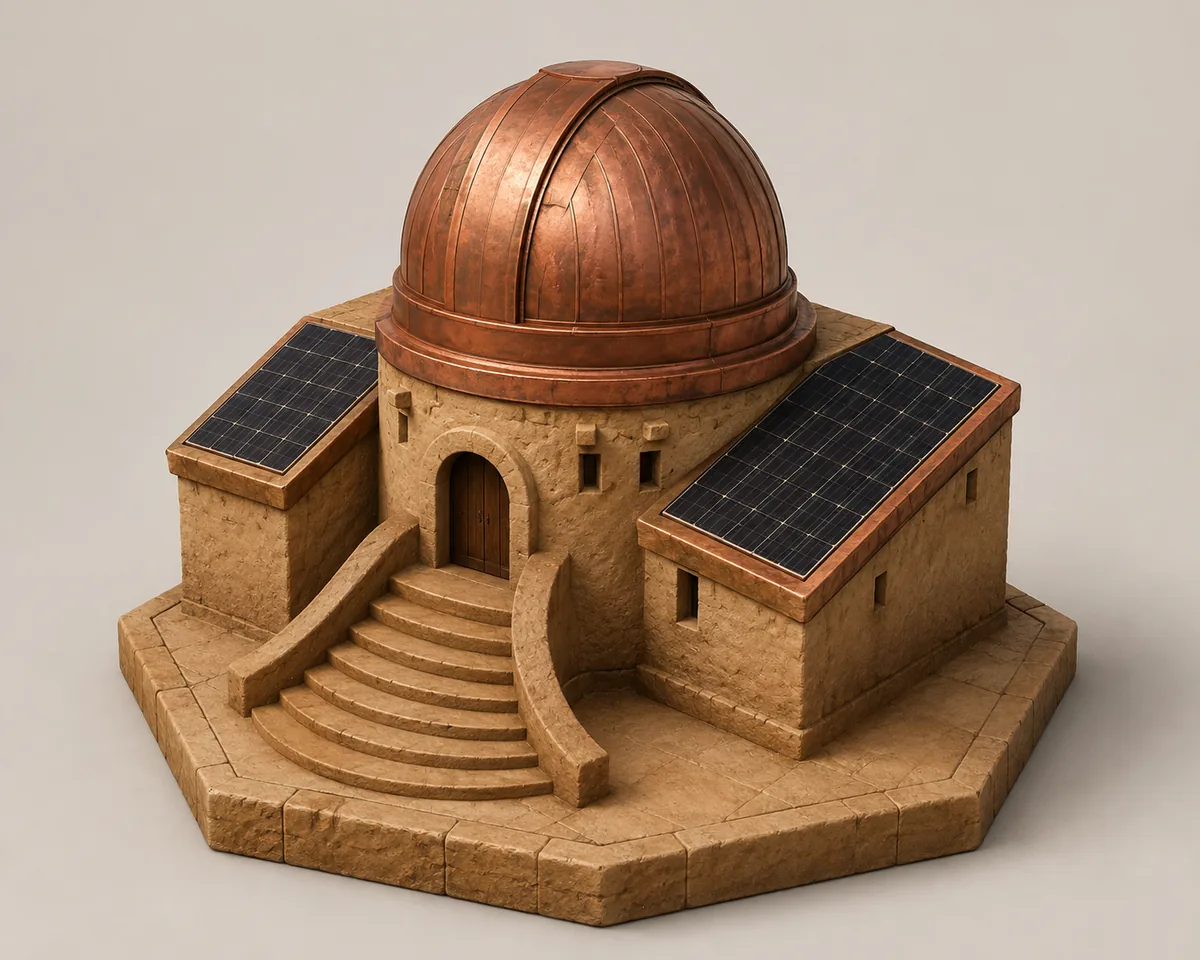
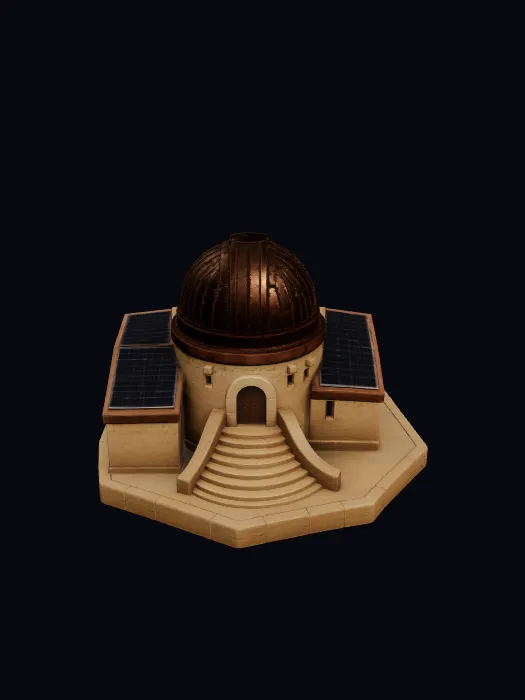
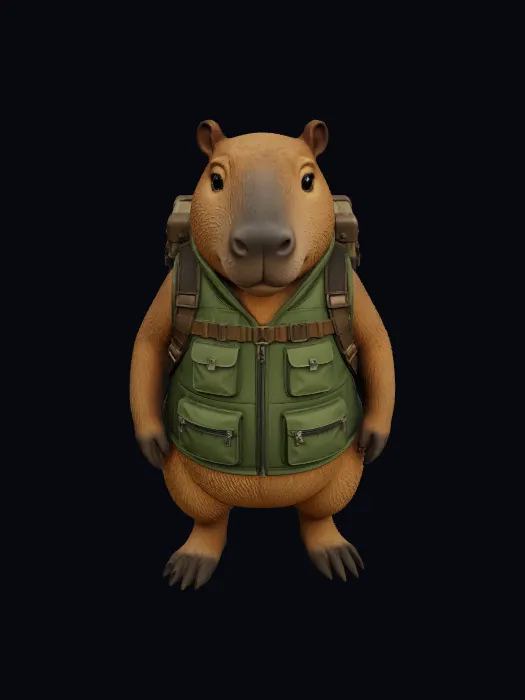
See 3D Models Generated from Reference Images
Compare each reference image with the generated 3D model. Open a result and rotate it to inspect the silhouette and the surfaces AI inferred beyond the original view.
Use Studio for a guided browser workflow: upload a reference, choose settings, and inspect the generated model.
01
Upload a Clear Reference
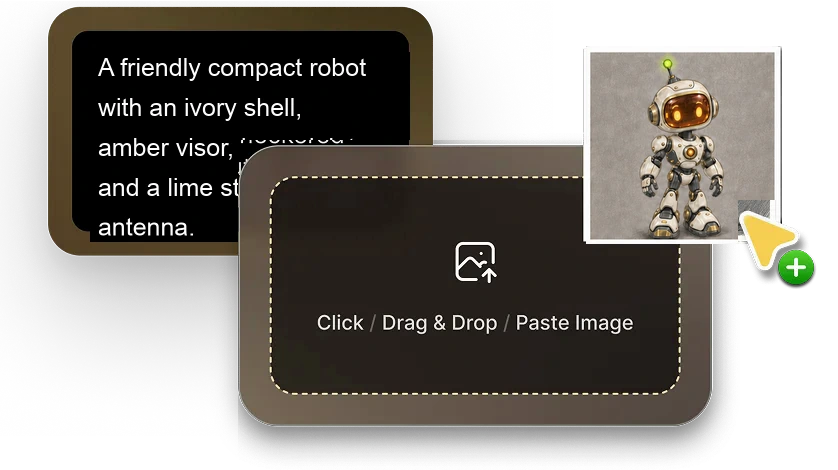
Choose a photo, sketch, or concept image with one complete subject. Consistent front, back, left, and right views can use a compatible multi-view option.
02
Choose Settings and Generate
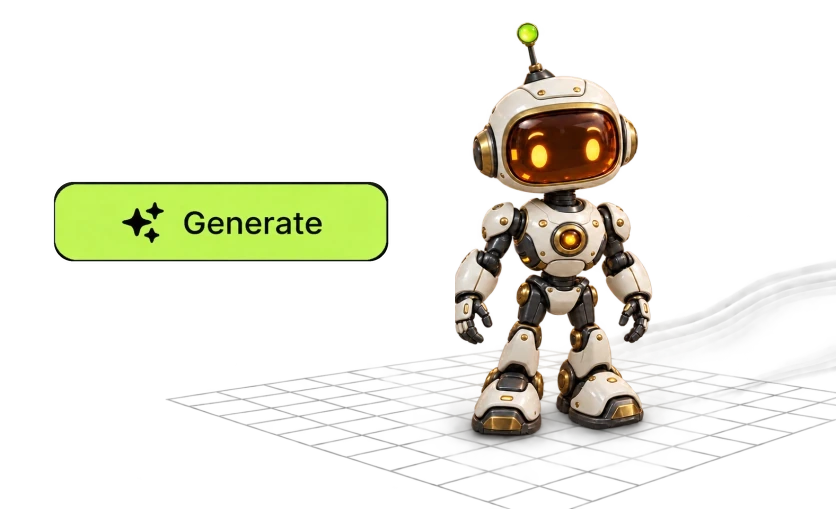
Select a generation model, review its options and credit cost, then submit the task. Studio shows progress while it runs.
03
Inspect and Continue
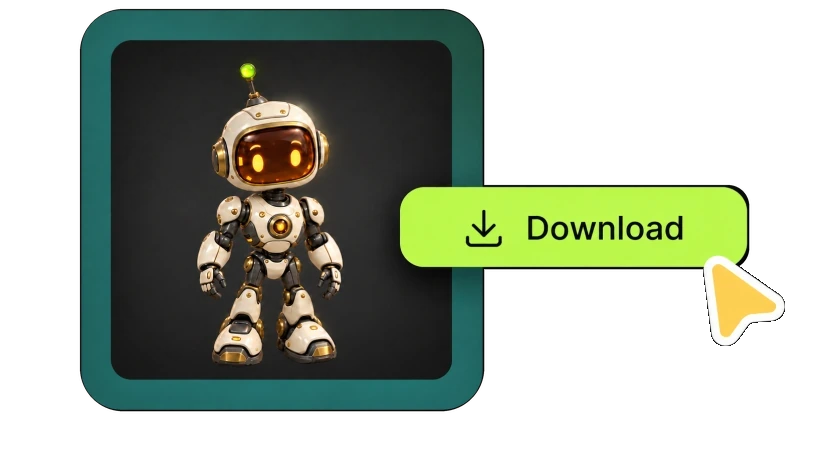
Rotate the model to check its silhouette and inferred surfaces. With an eligible paid account, download an available format or continue refining it.
Build a Repeatable Image to 3D Workflow
Choose the interface that fits your image-to-3D task. Use Studio for browser controls, Canvas for connected visual steps, MCP for an AI agent, or CLI for a terminal or script.
Read-only Character Design template · generated sample assets
VISUAL WORKFLOW
Connect Image to 3D and Texture Steps on the Canvas
Keep the reference, model, and material steps together on the Canvas. Connect an image to Image to 3D, pass the model to Texture, and run each node as needed.
Start with your reference or an AI Image node.
Select an existing model from My Assets when you already have one.
Change an input and re-run only the relevant nodes.
Use Kreat3D to generate a textured 3D model from this reference image. Keep the main silhouette and visible details, then show me the available files when the task is complete.
AGENT AND TERMINAL
Generate 3D Models from an Agent or Terminal
MCP lets an AI agent call Kreat3D tools, follow the task, and retrieve available output files. Use the CLI from a terminal or script.
Provide a reference image and describe the model you need.
Ask the agent to check progress and return the available result.
Image to 3D AI Options: Inputs, Textures, and Exports
Choose how your image becomes a 3D model. Start with one reference or consistent multi-view images, then select geometry, texture, and export options for the next step.
Generate a 3D Model from One Image
Start with a photo, sketch, or concept image that shows one complete subject. The AI uses visible shape and detail to build the model and infers surfaces the image does not show.
Use Multiple Images for One 3D Model
Add consistent views of the same object to give the generator more visual context. Multi-view support depends on the selected model and an eligible subscription.
Choose Geometry or a Textured 3D Model
Generate geometry only or choose a supported textured option. Texture quality, PBR materials, and geometry controls vary by model.
Export 3D Models to GLB, OBJ, FBX, or STL
Continue in Blender, a game engine, or a 3D printing workflow with an available format. Download access requires a paid account, and format availability varies by model.
Create and Preview 3D Models Online
Upload, configure, and inspect the result in your browser without installing a modeling app. Studio shows task progress while generation runs in the cloud.
Image to 3D for Games, Product Design, and 3D Printing
Use an image-generated 3D model as a starting point for game prototypes, product visualization, 3D printing, AR, animation, or teaching.
Game Development
Turn character art and prop concepts into assets for prototyping. Review topology, optimize the mesh, and add rigging where your game needs it.
Product Design
Explore form and proportions from product references before the next review. Use the output for visualization, then develop precise dimensions in your design tools.
3D Printing
Start a figurine or object from a clear image. Check scale, wall thickness, and mesh integrity in your preparation tools before slicing.
E-commerce & AR
Explore interactive product presentation with 3D assets. Check material accuracy and optimize file size for your viewer or AR platform.
Animation & VFX
Move a visual concept into scene development. Retopologize, rig, and refine materials in your animation package when the shot requires it.
Education & Training
Turn visual references into objects learners can explore from different angles. Review accuracy before using models to explain technical subjects.
Continue your workflow in
Blender
Unity
Unreal Engine
Three.js
Your slicer
Blender
Unity
Unreal Engine
Three.js
Your slicer
Blender
Unity
Unreal Engine
Three.js
Your slicer
How to Prepare an Image for 3D Model Generation
Prepare a clear reference before you generate a 3D model. A complete subject, readable depth, even lighting, and consistent extra views give the AI more useful visual information.
Show One Complete Subject
Keep the object in frame against a simple background. Avoid cropping defining parts such as handles or limbs.
Make Depth Visible
Shading can communicate volume better than a flat outline. If you only have an idea, create a reference first.
Use Even Lighting
Keep edges visible. Deep shadows, glare, blur, and occlusion leave more of the shape open to interpretation.
Keep Extra Views Consistent
Across multiple images, keep the object, materials, scale, and design consistent.
No reference image yet? Create concept art before you generate the model.
How does an image to 3D model generator turn a 2D image into 3D?
It creates 3D geometry and, with a supported option, textures from a 2D reference image. Because one image does not show every surface, the AI infers hidden areas and the result may need refinement.
Can I turn a photo, JPG, PNG, WebP, or sketch into a 3D model?
Yes. Use a clear photo, JPG, PNG, WebP, sketch, or concept image with one complete subject. A simple background, visible edges, even lighting, and readable depth give the generator more useful visual information.
Can I generate one 3D model from multiple images?
Yes. Multiple Images combines consistent views of one object. The front is required; back, left, and right views are optional. It requires a compatible model and eligible subscription.
How long does it take to generate a 3D model from an image?
The editor shows an estimate before submission. Actual time varies with the model, settings, object complexity, and queue. Studio displays progress after the task starts.
Will the generated 3D model include textures?
Choose a supported textured option when you want surface color with the mesh. Geometry-only output is untextured; texture quality and PBR options vary by model.
Should I use Studio, Canvas, MCP, or CLI?
Use Studio for browser controls, progress, and inspection. Use Canvas for connected image, model, and texture steps; MCP for a compatible AI agent; or CLI for a terminal or script.
Can I use the Canvas for an image to 3D model workflow?
Yes. Connect an image to Image to 3D, or select an existing account model from My Assets. Add Texture when needed, then run or re-run the relevant nodes.
Can I generate a 3D model from an image through MCP or CLI?
Yes. Through MCP, a connected AI agent can create the model, follow progress, and return available output. Use the Kreat3D CLI for a terminal workflow; the MCP and CLI page covers setup.
Can I try the image to 3D model generator for free?
New accounts receive starter credits to try supported generation options without entering card details. Each task's credit cost appears in the editor. Starter credits do not unlock every model, multi-view mode, or generated-model downloads.
Can I export the generated model as STL, GLB, OBJ, or FBX?
Export paths include GLB, OBJ, FBX, and STL where supported; availability varies by model. After import, check scale, topology, and materials for Blender or game use. For 3D printing, also check dimensions, wall thickness, closed surfaces, orientation, and supports.
Turn Your Image into a 3D Model
Upload a photo, sketch, or concept image and generate a 3D model you can inspect, refine, and carry into your next workflow.