







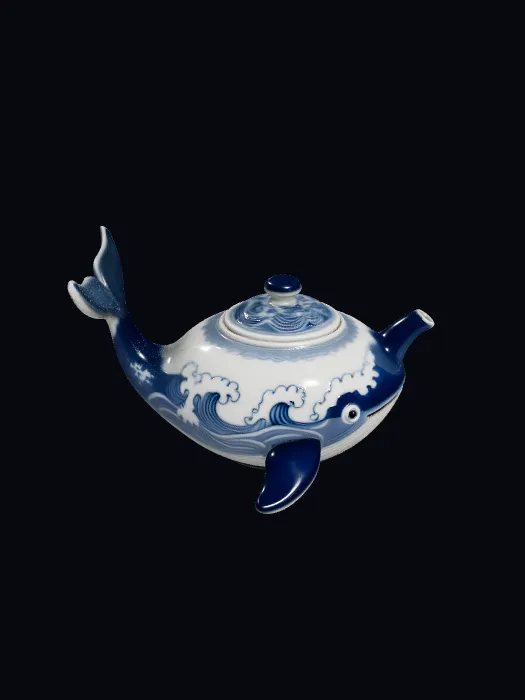
Blue-and-White Whale Teapot
ObjectA whale-shaped blue-and-white porcelain teapot.
Turn text into a 3D model with an AI text to 3D model generator. Describe one subject, generate a textured 3D model online, and export to GLB, OBJ, FBX, or STL.
AI Text to 3D
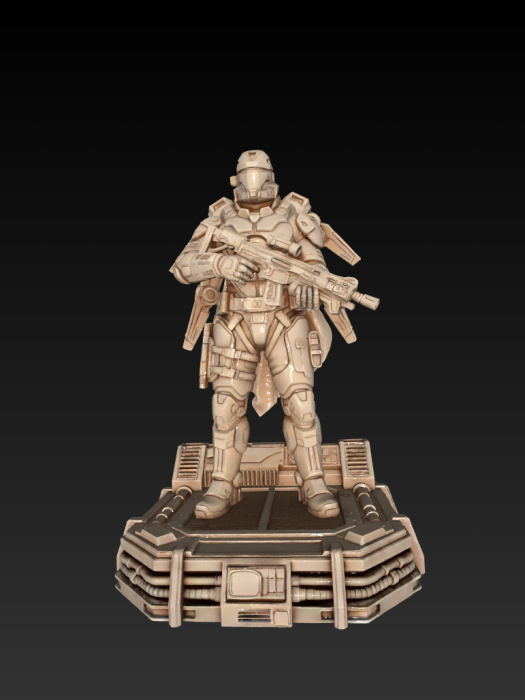
Sentinel Guardian
Drag to rotateA sand-colored armored sentinel with a rifle on a mechanical base.
Explore six 3D models alongside concise text prompt ideas. Copy a prompt, or open a model to inspect its shape and surfaces. Results vary by model and settings.
6 results shown
A whale-shaped blue-and-white porcelain teapot.
A moon rabbit apothecary figurine on a cloud-patterned base.
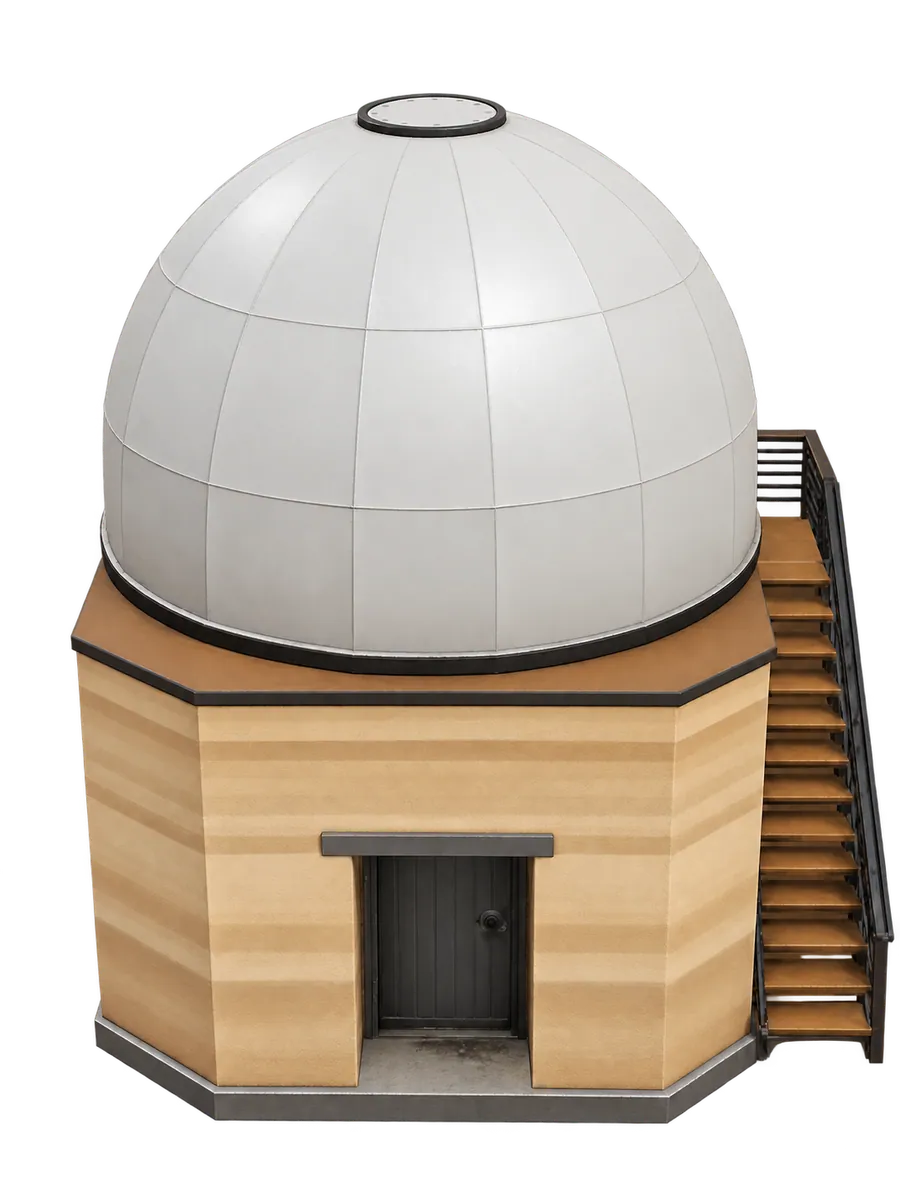
A desert observatory with a dome, exterior stair and earthen walls.
A cobalt-blue wave lounge chair with a walnut base.
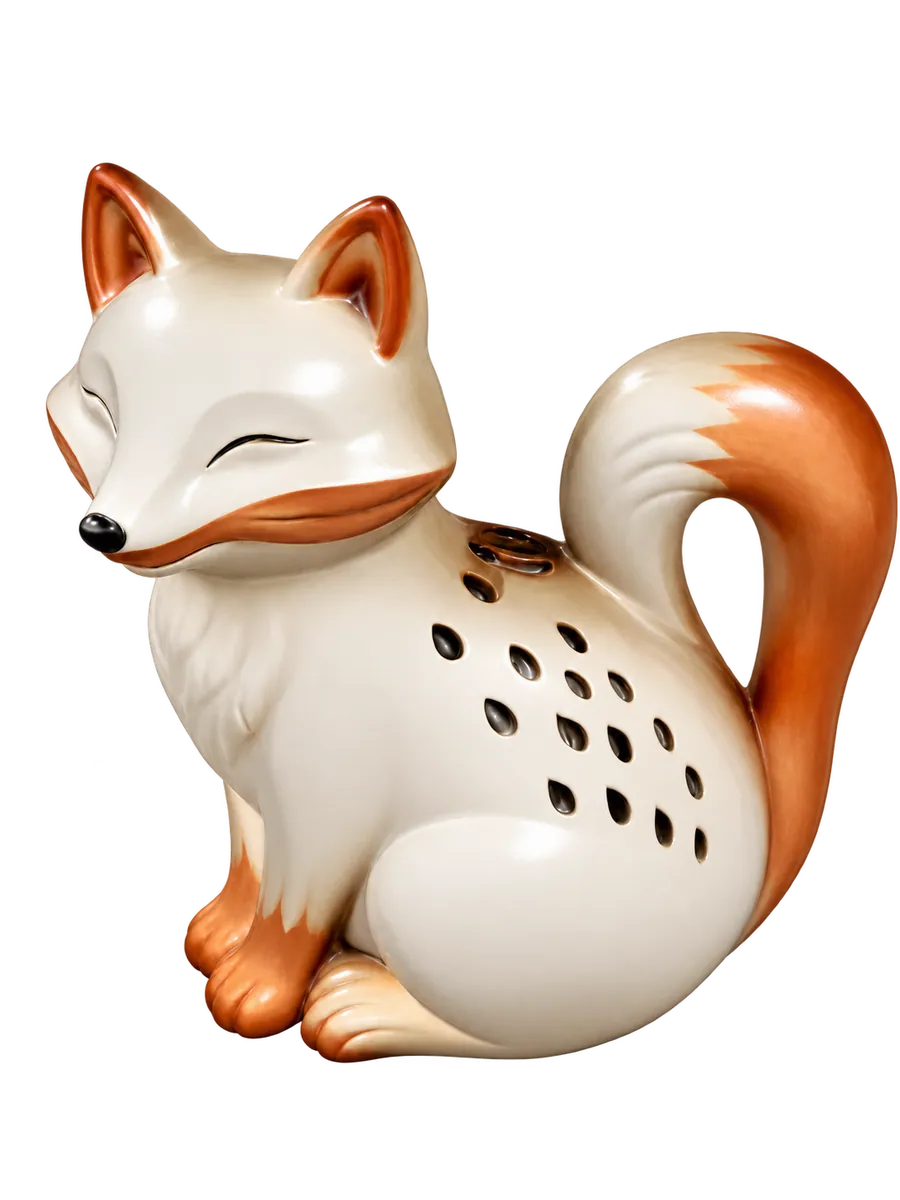
A ceramic fox incense burner with a curled-tail handle.
A capybara mascot in a bright orange raincoat and navy boots.
Describe one object, choose your settings, and inspect the result before moving it into your workflow. The editor shows the credit cost and estimated time before submission.
Describe one object's shape, material, style, and defining detail, or adapt an example prompt.
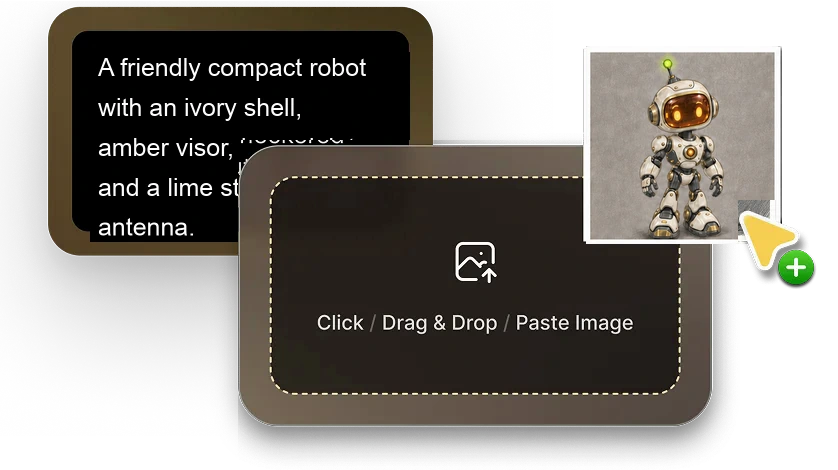
Choose a supported model and geometry or textured output. Check quality options, estimated time, and credits, then sign in and track progress in Studio.
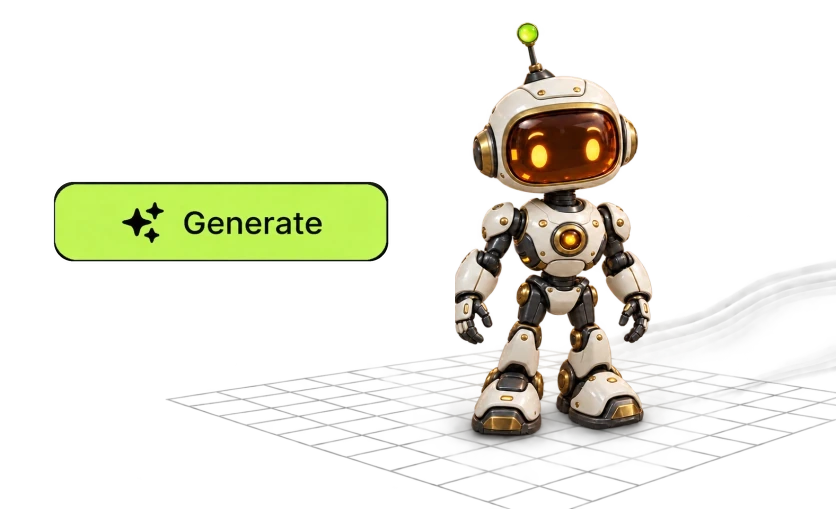
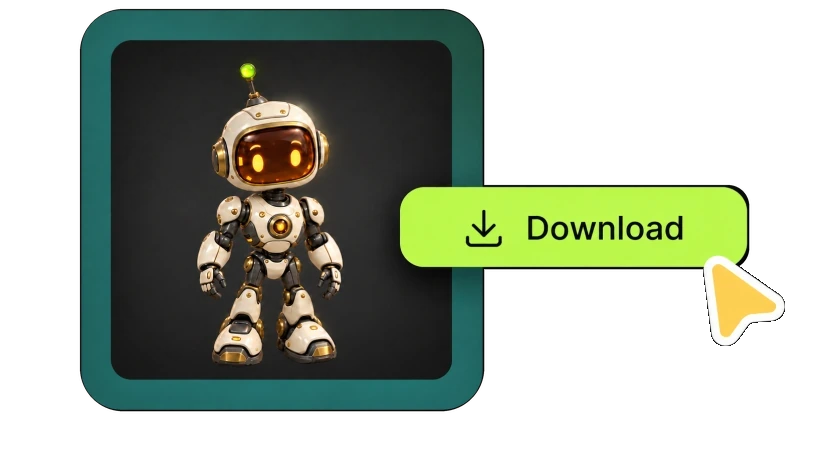
Inspect the model, revise your prompt for a new variation, or use supported Texture or Remesh tools. Export an available format with an eligible account.
Choose the interface that fits your task. Use Studio for browser controls, Canvas for connected prompt, model, and texture steps, MCP for a compatible AI agent, or CLI for a terminal or script.
Keep the prompt and resulting asset in a visual workflow. Connect a text node to Text to 3D, add Texture when the model needs a different surface, and run the relevant nodes again after changing an input.
> Generate a brass hummingbird 3D model
Create task → Check status → Open result
MCP lets a connected AI agent call Kreat3D tools, follow a generation task, and retrieve available output files. The CLI offers direct terminal access for a script or repeatable asset workflow.
Text to 3D works best for one subject. For a room, level, or product environment, generate separate objects. Canvas organizes their prompts and results; assemble exported models in Blender or another scene tool.
List objects that need their own mesh, such as a bench, lamp, planter, and sign. Prompt each separately instead of generating a whole street corner at once.
Use a Text to 3D node for each piece and keep related prompts on one Canvas. Inspect each result before generating the next; Canvas organizes assets but does not compose a 3D scene.
Export the models, then position, scale, and light them in Blender or your target engine. Repeat style and material terms across prompts for consistency, and make final scene adjustments there.
The text to 3D model generator offers prompt, geometry, texture, and export controls. For AI text to 3D model generation, options vary by model, so check settings and files before spending credits.
One subject
Shape and details
Material and style
 Illustrative image-based asset
No photo needed: describe the subject, shape, and material or style. The model builds geometry from your text and infers unspecified details.
 Illustrative image-based asset
Change the prompt and run a new task to adjust shape or proportions. Supported Texture and Remesh workflows can change an existing result's surface or topology, but a follow-up prompt cannot directly edit its geometry.
Choose an untextured mesh for your own materials or a supported textured output when surface color helps the concept read. PBR and quality controls vary by model and plan.
Continue in Blender, a game engine, or a 3D printing workflow with a format supported by the selected model. Format support varies by provider, and downloads require an eligible paid account.
Generate and inspect models in your browser without installing a modeling app. Generation runs in the cloud while Studio shows progress; the 3D viewer lets you rotate the result before deciding what to do next.
Use a 3D model from text as a starting asset, then check it against your project's requirements before production use. For a scene, run separate text to 3D model generation tasks for each subject.
Preview a prop, character concept, or set piece in 3D while the art direction is still open. Check topology, scale, materials, and rigging needs before bringing it into a game engine.
Try form and material directions from a written brief. Discuss the concept and proportions, then rebuild precise dimensions and mechanical details in your design tools.
Generate an object and export STL if your chosen model supports it. Before slicing, check units, wall thickness, watertightness, orientation, supports, and whether the mesh needs repair.
Explore a 3D product concept, then check shape and material accuracy. Reduce file size if needed and test it in the viewer or AR platform where customers will see it.
Turn a written character or prop idea into an early 3D study for a shot. For moving assets, review the mesh, then prepare rigging, retopology, and materials in your animation package.
Create an object learners can inspect from different angles. Verify its factual shape and labels in your subject area before using it to explain a technical or historical idea.
Continue your workflow in
Describe a recognizable object, not an entire scene. Copy and adapt the example prompts in the gallery.
Choose one object per task. For a full environment, generate its pieces separately. One focal subject gives the generator a clearer silhouette and makes each result easier to inspect.
Specify texture direction with terms like glazed porcelain, mossy stone, matte plastic, or brass and walnut. Include material when it matters to the idea instead of expecting the generator to guess.
Name one or two recognizable details, such as a tail-fin handle, leaf canopy, or geared joints. Say where each belongs so it becomes part of the object rather than a stray piece.
Terms like figurine, prop, or concept study clarify the intended form. They do not guarantee a mesh is ready for a game or printer; check topology, scale, and output format for your destination.
Have a visual reference instead of only a description? Use image to 3D to follow its visible shape.
Explore Image to 3DAnswers about creating models from text, writing prompts, free credits, textures, STL for 3D printing, export formats, and commercial use.
Describe one object in a prompt, choose a supported generation model and output type, then submit the task. Inspect the result in Studio and, with an eligible paid account, export an available format.
Start with one recognizable subject, then add its material, style, and a detail that shapes its silhouette. Keep instructions consistent and concrete. The real prompts and resulting models on this page are examples you can copy and adapt.
New accounts receive starter credits for supported generation options without entering card details. Each task shows its credit cost before submission. Starter credits do not unlock every model or generated-model downloads.
STL export is available for supported generation models and eligible accounts. Export alone does not make a mesh printable. Check dimensions, wall thickness, watertightness, orientation, and supports in a slicer or mesh repair tool before printing.
Choose a supported textured option if you want surface color with the mesh. Geometry-only output is untextured. Texture detail and PBR controls vary by generation model and plan, and you can inspect the result before downloading.
Those are supported export paths, but available formats depend on the selected provider and model. Generated-model downloads require an eligible paid account. The editor and download controls show the formats you can use for a result.
Use text to 3D when you have an idea but no reference image. Use image to 3D when you already have a photo, sketch, or concept art and want the model to follow its visible shape. Open the image to 3D model generator
Paid plans include commercial usage rights for generated 3D models. Review the terms, your plan entitlements, and any third-party rights relevant to the subject you prompted before using an asset in a client or product project. Compare commercial plans
Describe one object and generate a 3D model you can inspect, refine, and carry into your next workflow. Start with a prompt, or switch to an image input when you have a visual reference.
Generate a 3D ModelFree starter credits · No card required to try · Generated-model downloads require a paid account.


